|
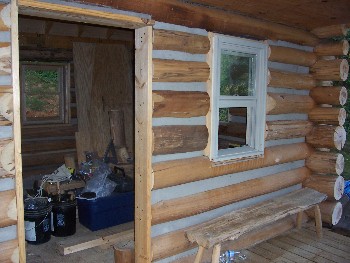
Windows and doors framed out after the logs in place.
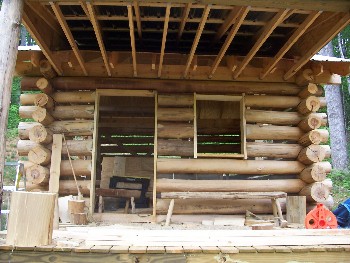
Short logs added between the door jamb and window jamb were the very last ones.
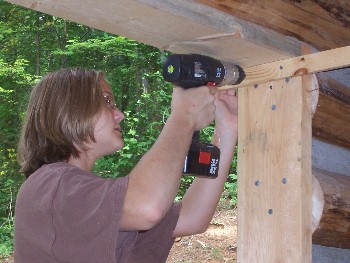
Sarah helping remove the header rest.
Using a plumb bob and measuring down from the header, the log is marked on both sides to indicate the depth
of the notch for the window opening.
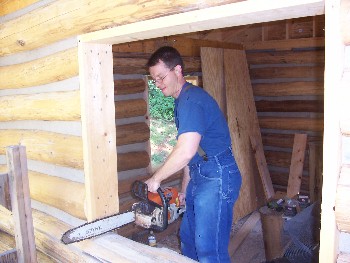
Using a chainsaw, cuts are made down to the line with Sarah watching on the opposite side to tell me when
to stop.
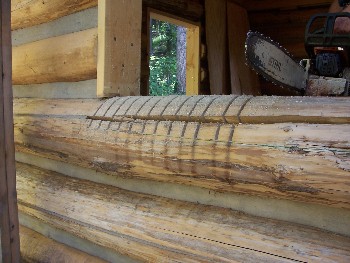
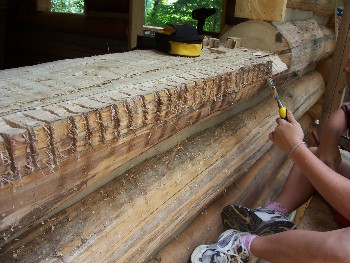
Cuts are made roughly 1.5 to 2 inches apart across the entire length.
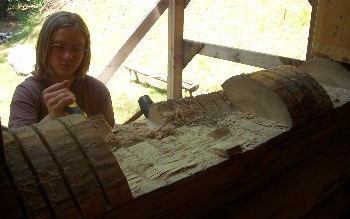
The wood is then removed with chisels, hatchet and broad axe.
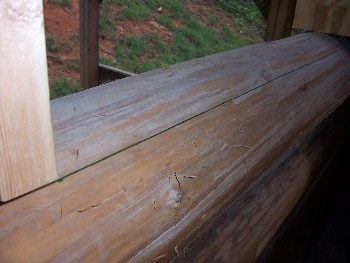
Corner of log removed so that rain will run off and not up under the window sill. Process is the same
as cutting the notch, just at an angle.
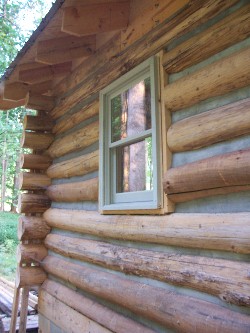
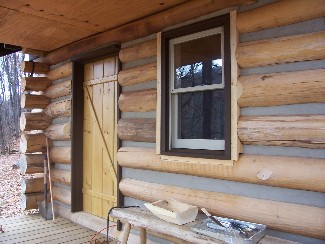
Back window installed.
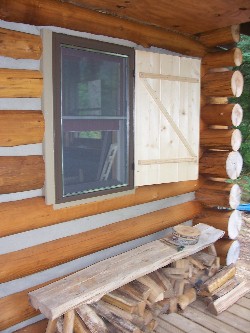
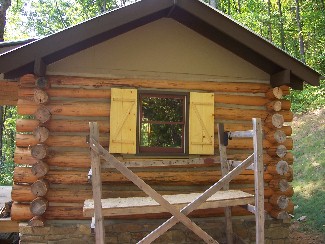
Porch window installed.
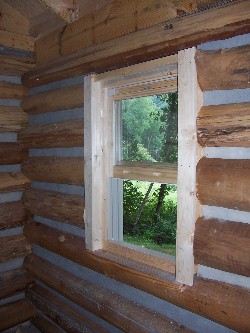
Trim work complete on the inside of the porch window.
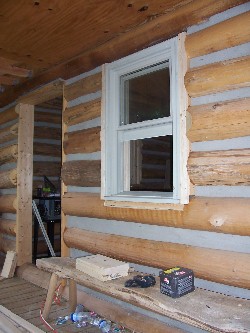
Trim work on the outside of the window.
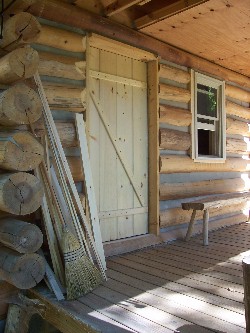
Front door made out of 2x10s with ship lap joints and Z bracing to prevent sagging.
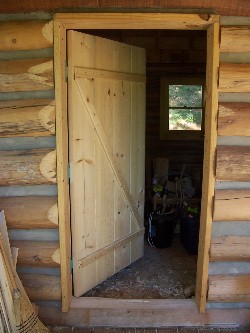
Come on in!

|