|

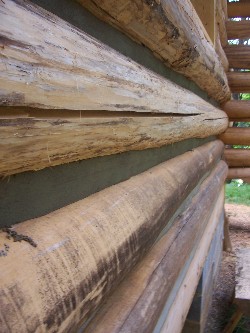
Tight wire mesh is used between the logs to capture and hold the cement until it dries. The wire mesh
conforms to varying contuors of the logs, and is held in place with nails and/or screws.
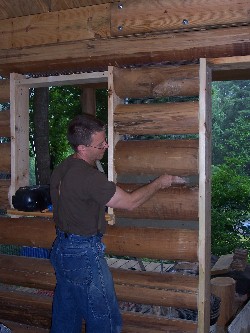
Using a 3 to 1 cement to sand mix, fairly dry "mud"
is applied between the logs using a
narrow, square-nose trowell.
The narrow trowell is required to fit between the logs,
but does not hold a lot of mud - especially considering
in some places it has to be double deep
and double wide to feel the gap.
Complete rows outside, note that the large check
will have to be filled with mud also.
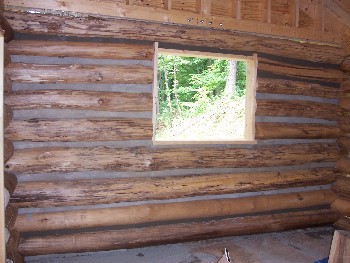
One inside wall complete except at the very top
and bottom. The top will require scaffolding,
the bottom saved for last.
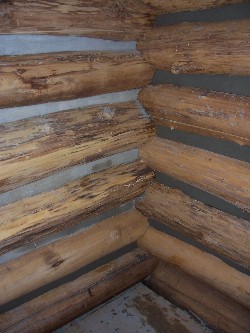
Completed corner, note the drier mud to the left laid 48 hours before, the wet mud to the right laid today.
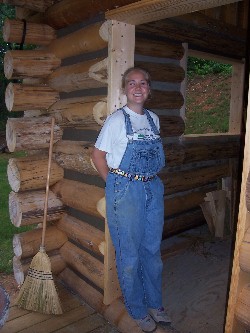
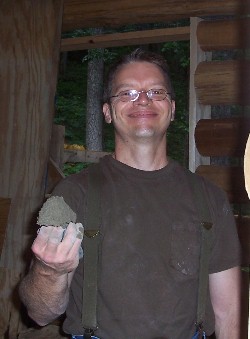
Vanessa was a lot of help on the chinking job - for a day or two.
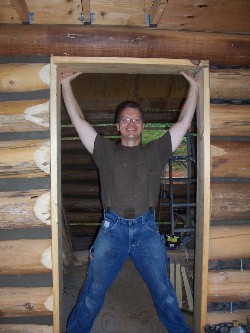
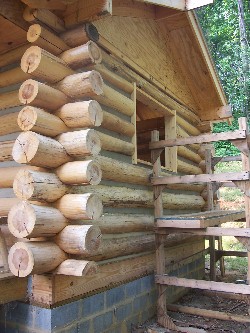
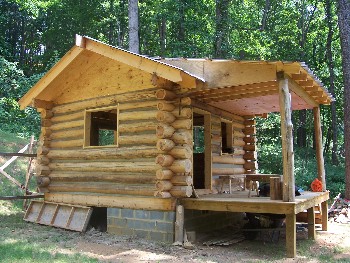
I've been framed!
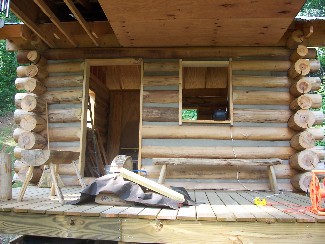
Chinking at porch done!
Scaffolding for reaching high sides.
Chinking complete on three sides.
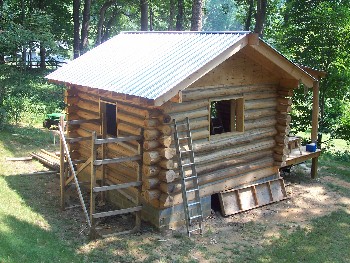
Chinking the outside complete!

Phew! I'm glad that's done, let's take a break!
|